Rat Lab Lab Rats Role Guide
Escape the facility, bite back when you must, and treat every join as a fresh tool tree.
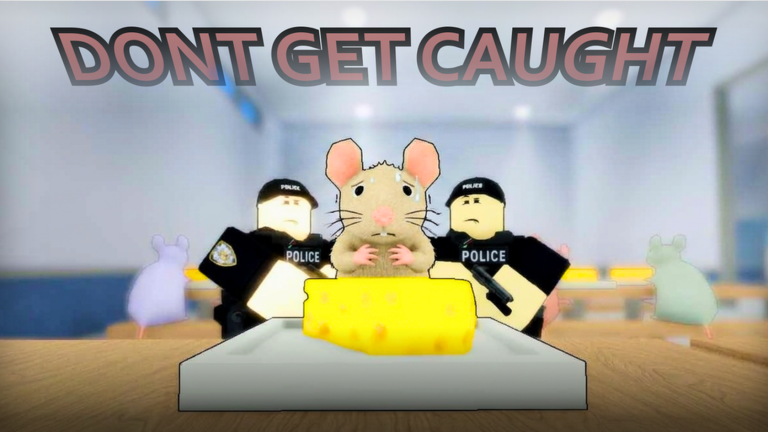
Lab Rats are the heart of Rat Lab’s fantasy: you are the experiment that refuses to stay caged. This page covers how the role plays, how the three-stage escape feels in practice, which early tools matter, when to grab the vest (+50 HP), and how to think about revenge once Security and Scientists start closing in. Pair it with How to Escape, Tools & Unlocks, and the broader Teams Hub.
Role fantasy and win condition
As a Lab Rat you win by completing the escape route through three escalating stages while surviving mutation pressure and capture tools. Secondary wins include disrupting scientist work, baiting Security into bad chases, and turning a near-capture into a revenge bite when your session unlocks allow it.
You do not win by AFK-ing in a vent or by downloading a shady timer-skip script. There are no verified scripts worth the ban risk — see the Scripts Hub — and the map is designed around fair movement, vision, and tool timing.
Session unlocks reset every join
Internalize this rule: tool unlocks earned in a session reset when you leave. Yesterday’s sniper-tier chaos on another role, or a late-game rat toy you loved, will not be waiting in your hotbar. Each join is a fresh climb:
- Spawn and confirm you are actually Lab Rat.
- Scout safe rooms, vents, and stage-one objectives.
- Unlock bite and mobility tools as the session allows.
- Time the vest pickup before contested mid-lab fights.
- Commit to stage transitions only when the path is clear enough.
If you die or rejoin, rebuild. That reset is intentional — it keeps rounds sharp and stops permanent pay-to-stomp from replacing skill (Forever passes are account perks, not a substitute for learning routes).
The three-stage escape (Lab Rat view)
Exact room names shift with patches, but the structure stays consistent:
Stage 1 — Break the immediate cage pressure
Learn spawn exits, early cameras, and the first Security choke. Your job is information: which corridors are watched, where Scientists cluster, and whether a vest or early bite unlock is nearby. Do not greed a revenge fight here unless the Security player is alone and mispositioned.
Stage 2 — Mid-lab navigation
This is where most runs die. Traps, nets, and mutation colour chaos stack. Use the Mutations guide so you understand what colour statuses mean when a scientist tags you — remember those colours are not promo codes from the Codes Hub. Prioritize pathing that avoids long open halls where snipers and guns shine.
Stage 3 — Final exit pressure
Security plays the endgame hardest. Expect batons, tasers, and last-door camps. Vest HP, bait tools, and teammate rats (if present) matter more than flashy bites. Finish the objective; do not turn around for a highlight kill unless the exit is already secure.
Deep route notes live in How to Escape.
Core Lab Rat tools and habits
- Bite — your signature pressure tool. Great for punishing greedy scientists and peeling a chasing guard for a second. Poor if you bite into a stacked Security duo.
- Vest (+50 HP) — boring, correct, often decisive. Take it before stage-two brawls.
- Mobility and vision — knowing trap placements from the tools tier list helps you juke nets.
- Opportunistic armour / hazmat interactions — sometimes lab gear is contestable; only greed it if it does not cost the escape timer.
Compare tool priority against Security’s net / baton / taser / guns / sniper package on Security and Scientists’ mutation gun focus on Scientists.
Revenge play without throwing the run
Revenge is optional content. Good revenge:
- Happens after a stage objective is secure.
- Targets an isolated scientist mid-mutation or a guard reloading a bad chase.
- Uses bite plus vest buffer, not naked ego.
Bad revenge:
- Turns around at the final door for a 1v3.
- Ignores Mutation Index debuffs you do not understand.
- Burns the only escape window in the session.
If you prefer ranked advice for “fun vs escape vs PvP,” see the Roles tier list — Lab Rats often rank high for fun and escape goals, mid for pure PvP into geared Security.
How other roles counter you
- Security — nets and tasers delete rat momentum; snipers punish peeks. Read Security Guide.
- Scientists — mutation gun and Index colours change your effective HP and options. Read Scientist Guide.
- Traps — slow your stage transitions; learn common place spots via Tools & Unlocks.
Beginner Lab Rat checklist
- Finish Getting Started once.
- Run one clean escape attempt without revenge side quests.
- Practice vest timing until it is automatic.
- Learn three failed routes so you recognize dead ends faster next join.
- Watch the embedded gameplay video mid-page, then replicate one pathing habit — not every flashy bite.
- After patches (active through September 2026), re-check Updates for route-breaking changes.
Related pages
- Teams Hub — all roles
- Scientists / Security
- How to Escape
- Tools tier list
- Official Links — play the real experience
Play Lab Rat when you want the map to teach you under pressure. Escape first, meme second, and treat every join as a new tool tree — because it is.
Frequently Asked Questions
Quick answers for Rat Lab players.
What is the Lab Rat main objective?
Complete the three-stage escape while surviving Security capture tools and Scientist mutation pressure.
Does the vest really give +50 HP?
Yes. The vest grants +50 HP and is one of the strongest simple survivability picks for contested stages.
Why did I lose my tools after rejoining?
Session tool unlocks reset each join by design. Re-unlock during the new session.
Are Mutation Index colours redeem codes?
No. They are scientist mutation markers. Promo code status lives on the Codes Hub — none confirmed working as of September 2026.